
If you follow me on Instagram, you know that I have shared before about my at home gel manicure hack. After doing my nails for a photo session of my own this past week, I went to Insta polls to see what the interest would be for a blog post about how I do it. With an almost 100% interest in my process, here we are! I decided to finally throw a post together to walk you through my process, step by step!
Also, major thanks and loads of brownie points to the hubs for taking some of these photos. Y’all, he’s gonna put me out of a job if I’m not careful.
Following this process I’m about to break down for you, I can usually get a full week out of my manicure before it ever starts showing the wear and tear of a typical at home manicure. If your nails grow super fast like mine, you might notice the growth quicker than that but if you stick with lighter colors it won’t be noticeable at all. That’s my trick 😉
P.S. If you have a photo session coming up and you don’t have the time or resources to go get a professional manicure before your session, these are great products to have one hand to achieve the look of having a professional manicure without breaking the bank and you can do it on your own time! Nails are important people. If you have a photo session coming up, have your nails done!
Now, let’s talk polishes…
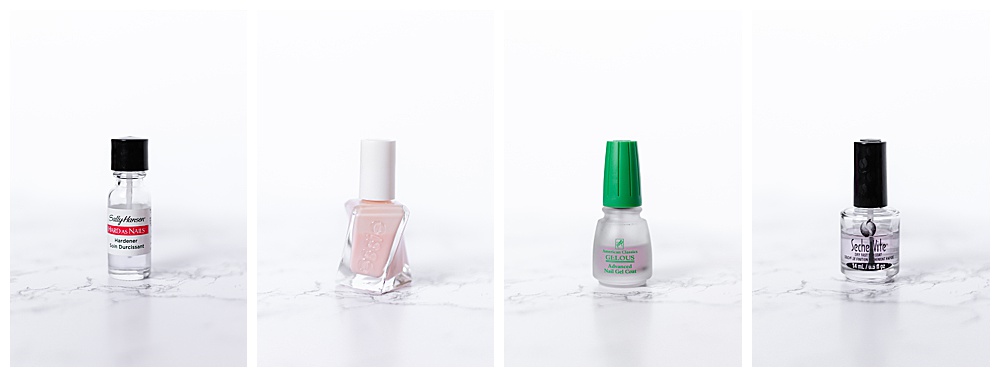
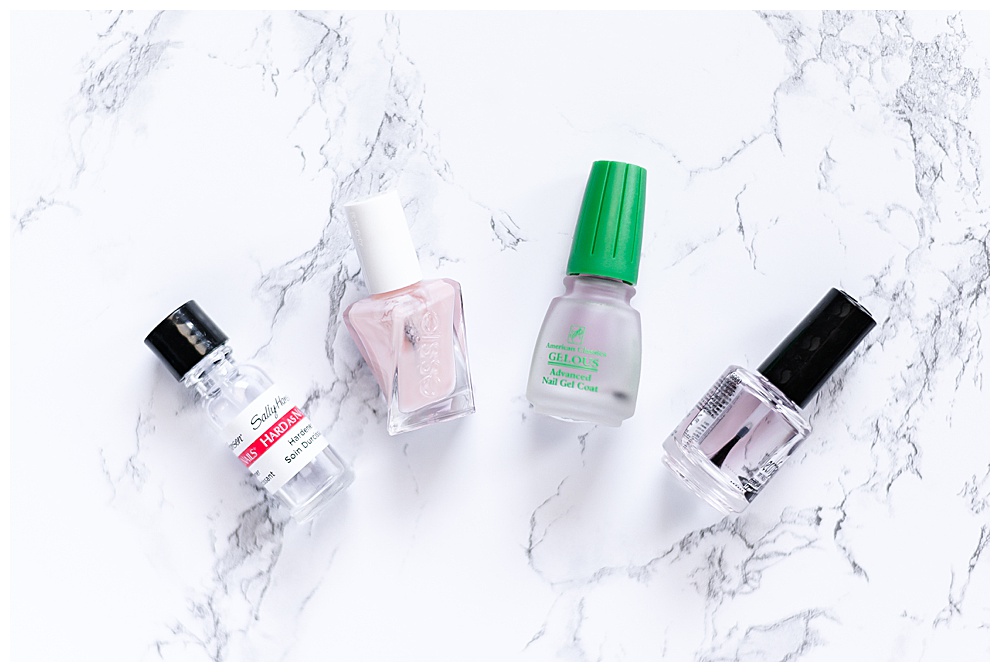
BASE COAT: Sally Hansen – Hard as Nails. You can find this at Walmart, Target, Ulta, or Sally Beauty. It’s a base coat that also hardens and strengthens your nails. I love how this base coat leaves my nails feeling strong, even after I’ve taken off my manicure. Bonus, it dries super quick!
COLOR CHOICE: Essie (original, not gel) or OPI are the best polishes I have found that truly last with this process. I’ve used this same process with other brands, and it doesn’t hold up compared to these two brands. You can find every color of the rainbow at basically any beauty or drugstore (Walmart, Target, Ulta, or Sally Beauty, Walgreens, etc.), but I often buy mine at Target or Walmart because it’s usually cheaper at one of those two stores. My best kept secret, keep an eye out at TJ Maxx or Homegoods for discounted colors! The color I am using here is called Fairy Tailor.
GEL MAGIC: Gelous Nail Gel Coat. So far I have only been able to find with product at Sally Beaty Supply. This is the polish that changes your whole manicure and is a MUST HAVE to achieve this look! If you don’t have a Sally’s near you, you should be able to order it online.
TOP COAT: Seche Vite Dry Fast Top Coat. The best of the best! I have tried other great top coats and this seems to be the best I have found (still open to suggestions if you think you have a great top coat suggestion!) You can buy this at Sally’s or Ulta.
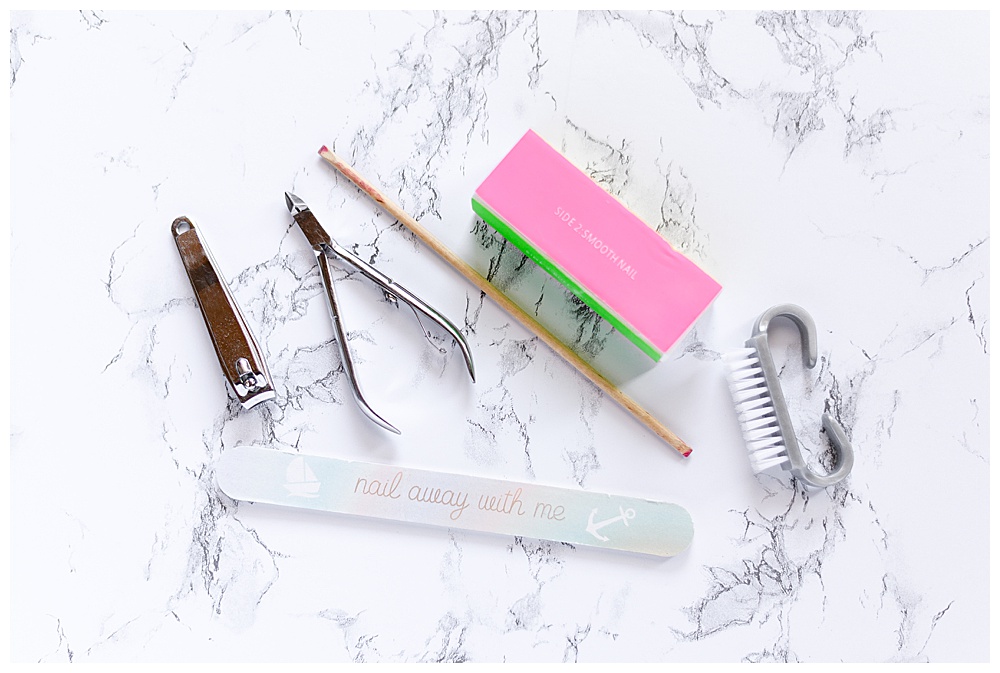
STEP #1 – Prep your nails!
I try to make sure I have enough time to really prep my nails before I even begin painting. Having your nails prepped before ever painting your nails will help your manicure last even longer! So if you have the time, I highly encourage you NOT to skip these step!
- CUT AND FILE to desired length and shape. I prefer mine shorter because my nails grow incredibly fast, and always love the classic rounded square shape.
- BUFF YOUR NAILS! This helps rid all the bumps and ridges so that your polish glides on smoothly. It’s the most satisfying.
- CUTICLES – push ’em back and rid the nasty! Nothing turns a good manicure to bad quicker than dry cracked out cuticles. Don’t waste all your hard work by skipping this step!
- WASH YOUR HANDS and pat them dry. You’re ready for the good stuff now!
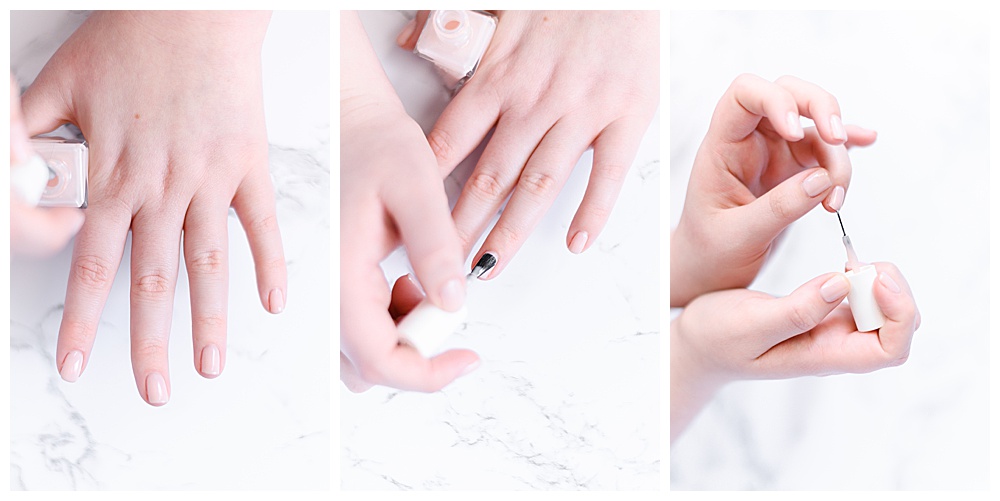
STEP #2 – Time to paint!
BASE COAT: First things first, don’t.skip.the.base.coat. I love the Hard As Nails nail hardener and strengthener for the base coat. It helps keep my nails strong, even after I remove the polish from my nails! Plus, it dries quick!
COLOR: When applying your color, apply multiple thin coats. For a light color polish like what I used here, I tend to apply three thin coats and that seems to create the best coverage. For darker colors, you could certainly get away with just two coats. Make sure to wait at least five minutes between coats to really let it settle!
GELOUS: This is step that makes all the difference and turns your normal polish to a gel with just one coat. I typically wait a good 10-15 minutes before applying the Gelous over the color because if you do it too soon it seems to transfer color to the Gelous brush. Apply one coat of Gelous to your nails and that should do the trick. You can apply a second coat after it dries for a while if you feel it is needed, but I typically only do one coat. This coat takes the longest to dry as it is a much thicker polish, so I would wait as long as you can, at least 15 minutes, before applying your top coat.
TOP COAT: Last step, top coat! Apply your top coat and then grab a cup of coffee and settle down for a quick Netflix show while you let your nails dry! It would be tragic to smudge them after all that hard work!
Once they’re completely dry, I like to apply an oil or nice lotion to my hands, focusing on my cuticles.
Quick tips for helping your manicure last:
1. Apply multiple thin coats instead of one or two thick coats. Take your time between coats. Don’t rush the process if you want it to last!
2. Keep the polish away from your cuticles and skin to prevent peeling or obvious nail growth.
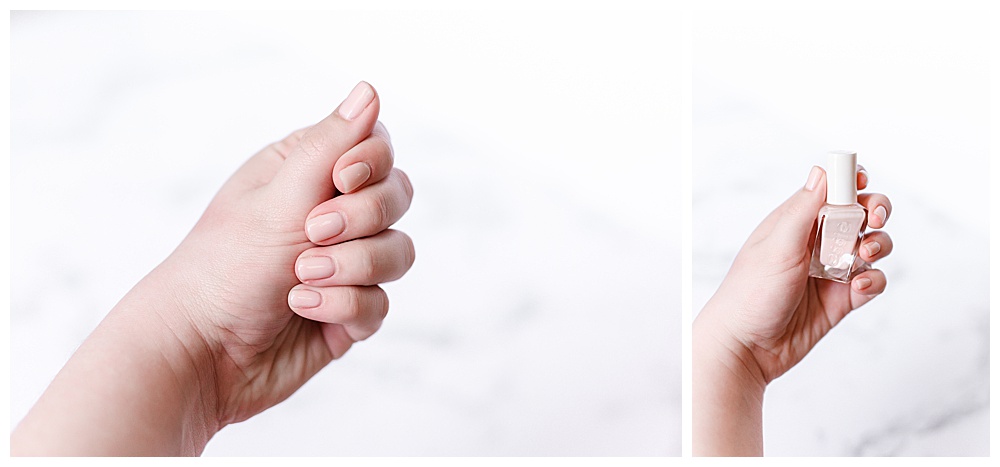
3. “Seal” the ends of your nail by running your brush over the tips of your nail to keep from chipping {as demonstrated in the far right photo above}
4. If you get polish on your skin, wait quite a few hours to make sure you nails are completely settled (I like to wait until the next day if possible) then wash your hands while peeling the polish off your skin.
5. Don’t do this before right before bed. No matter how much I think it has dried enough, I almost always wake up with smudges or funky texture on my nails. Do it before dinner time if possible!
Ta-da! At home DIY gel manicure that doesn’t break the bank, lasts longer than a typical at home manicure, and looks reeeeeal good! Shoe ’em off, guurl!
